
Узнайте, как создать яркий и запоминающийся плакат с нуля, объединив искусство шрифтов и графический дизайн.
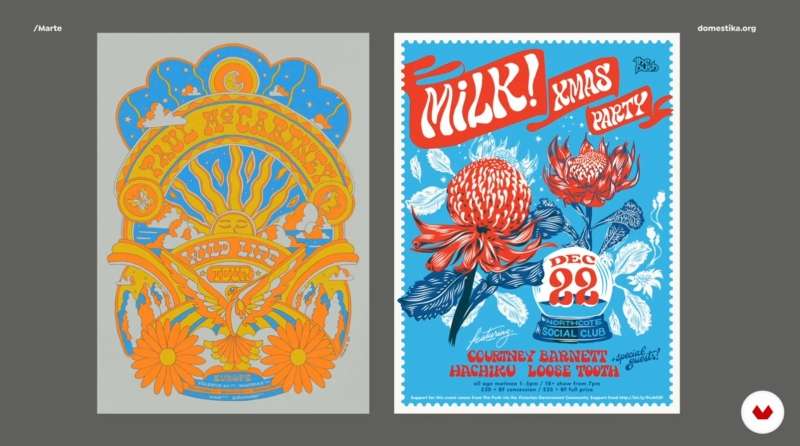
Удачный дизайн плаката может увлечь, заинтересовать и убедить аудиторию. Это особенно важно для любого мероприятия. Марта, известная художница по графическому дизайну и шрифтам, создала яркие плакаты для таких артистов, как Пол Маккартни, Кортни Барнетт и Pussy Riot. Среди её клиентов также Budweiser, WeWork и Cynar. Марта считает, что плакат должен быть визуально привлекательным, чтобы привлечь внимание зрителей.
На этом курсе Марта отправит вас в увлекательное путешествие по миру плакатного дизайна. Она покажет, как создать яркий и запоминающийся плакат, который не только привлекает внимание, но и передаёт мощное послание. Вы научитесь воплощать свои идеи в жизнь, используя творческий потенциал и цифровые инструменты Illustrator.
https://www.domestika.org/en/courses/2464-creative-poster-design-for-events